
Michigan Apple Tart How-to: A healthier slice for the holidays
With the recent fall harvest, Michigan Apples are at their peak freshness and it’s a great time to get baking! This healthier apple tart lets you experiment with the tastes and textures of different varieties and bring Michigan’s harvest straight to your holiday baking.
And as a dietitian, I love how a few thoughtful changes to the holiday dessert lineup can help you enjoy the flavor of the season, while still allowing room for successful management of chronic conditions and health goals.

What Makes Tart a Healthier Pie?
Notice the “-ier” in healthier. While apple tarts are still a dessert, they can absolutely be a “lighter” option and a beautiful showstopper, which is why I’ll be serving one at my holiday table! Apple tarts have:
- A single crust: pie usually has a double crust (top and bottom), which means more fat and sugar. Tarts have only a single bottom crust.
- Minimal added sugar in the filling: I was thoroughly surprised how little added sugar this tart filling needed allowing the natural flavor and texture of Michigan Apples to shine.
- Fewer calories per slice: A nutritional analysis of this tart recipe showed that each slice has about 330-500 calories, depending on portion size. Some double-crust pies can reach 800 calories or more per slice.
- Easier portion control: Ever asked for a small piece of pie at a party, only to watch the pie cutter mutilate your piece as they try to cut a thin slice? Tarts make smaller portions easier to cut and serve. The chart below shows how portion size really does matter!
Total Slices in 9" Tart Pan | Portion Size | Calories Per Slice |
8 | Generous | ~500 |
10 | Moderate | ~400 |
12 | Small | ~330 |
Managing a chronic health condition during the holidays isn’t easy. There are constant temptations that can throw off your goals or send your blood sugars spiraling. Looking for fun ways to enjoy holiday recipes without putting your wellness at risk? Take a look at some easy holiday apple swaps!
Let’s Get Cooking!
Selecting Michigan Apple Varieties
We used two Michigan Apple varieties with very different sweetness levels and textures: Paula Red for the soft filling and Honeycrisp for the rosette topping.
Paula Red: Paula Red easily breaks down into a soft, tart-tasting filling. Other varieties to try: McIntosh, Golden Delicious, or Jonathan.
Honeycrisp: Honeycrisp holds its shape well for the rosette topping. Its sweet flavor balances out the tart-tasting filling. Other varieties to try: Cripps Pink, or for a deep red that will really pop, Red Delicious.
These varieties will give this tart a hint of crunch and sweetness on top, with a soft, tart-tasting filling underneath…such a delicious combo!
Looking for more baking tips using different Michigan Apple varieties? Check out our recent guide to choosing the best apples for baking.
Healthier Apple Tart Recipe
What you’ll need to bake along:
- 10 Michigan Apples of your choice
- 1 ⅓ cups all-purpose flour
- 5 Tbsp granulated sugar
- ¾ tsp salt
- 13 Tbsp butter
- ½ cup apricot preserves
Step 1: Make the Dough Crust
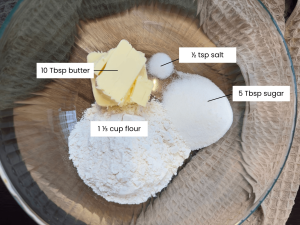
Heat the oven to 350°F and gather the ingredients for the crust. You’ll need 1-1/3 cup all-purpose flour, 5 Tbsp granulated sugar, ½ tsp salt, and 10 Tbsp butter (slightly warmed and partially melted). Then mix it up and knead until it forms into a uniform dough.
Step 2: Form the Dough
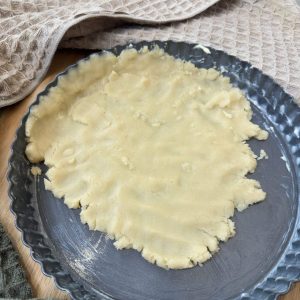
Using a 9-inch tart pan with a removable bottom makes it easier to pop the tart out when it’s finished baking. Grease the bottom and edges of the tart pan. You can also use a square cooking dish or bread pan. Nothing’s wrong with square tarts. Using your hands, press two-thirds of the dough onto the bottom. Then press the remaining along the edges to form the crust.

Step 3: Bake the Crust
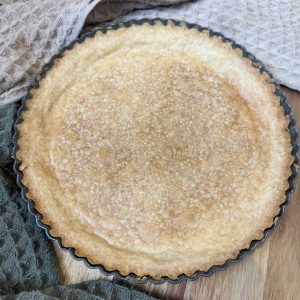
Bake the dough for 30-35 minutes on the lowest rack in the oven. The crust should turn golden brown and be firm to the touch before removing it from the oven.
Step 4: Prep the Glaze
This step must not be skipped. It’s such a cool culinary technique! Warm ½ cup of store-bought apricot preserves in the microwave for about 1 minute, until liquid. Pour through a fine-mesh strainer, and out comes a wonderful, pre-made glaze.
Don’t throw out the apricot pulp left over in the strainer. Toss it into a frying pan with 1 Tbsp of the strained glaze to prepare for step 5. The remaining glaze will be brushed on top of the finished tart, so set it aside for now. Just do it. Just set it aside.
Step 5: Prep the Filling
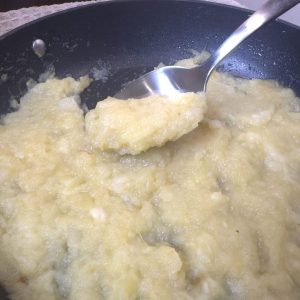
While the crust bakes, it’s time to start prepping the filling. Peel and cube 5 large apples. Add the cubed apples, 2 Tbsp butter and ¼ tsp salt to the frying pan containing the apricot glaze and pulp.

Cook over medium heat, stirring occasionally, until the apples soften into a smooth applesauce. You may need to help them along with a good mash of the fork here and there.
Step 6: Prepare the Rosette Apple Slices
Take 5 unpeeled apples and slice thinly. Toss in a skillet with 1 Tbsp butter and cook for about 5 minutes or until the slices can bend easily without breaking in half and are slightly translucent. Set these slices aside on a sheet pan to cool.
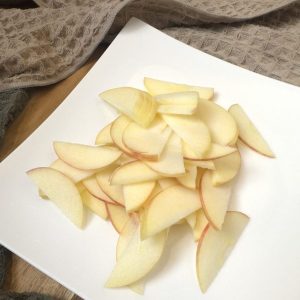

Step 7: Build the Tart
Now comes my favorite part, where all the hard prep work pays off. Fill the baked tart crust with your applesauce mixture. Smooth the filling, keeping it slightly higher in the middle than at the edges for a gently sloped appearance.

Then start layering your rosette apple slices in concentric circles, placing each slice about halfway over the previous one with the peel facing out. As you progress inward, lay the slices at a slight upward angle. 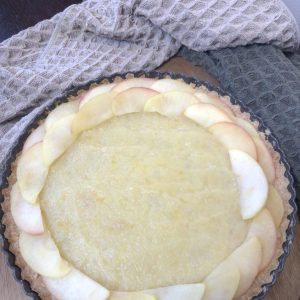
Don’t get dizzy as you go around, and around, and around until…ta-da!

Rosette Tip: When you get to the last circle (the middle), make an apple rose and plop it in the center. Here’s how:
Step 1 Layer 8 cooked apple slices in a line, overlapping each slice about halfway over the previous one. | 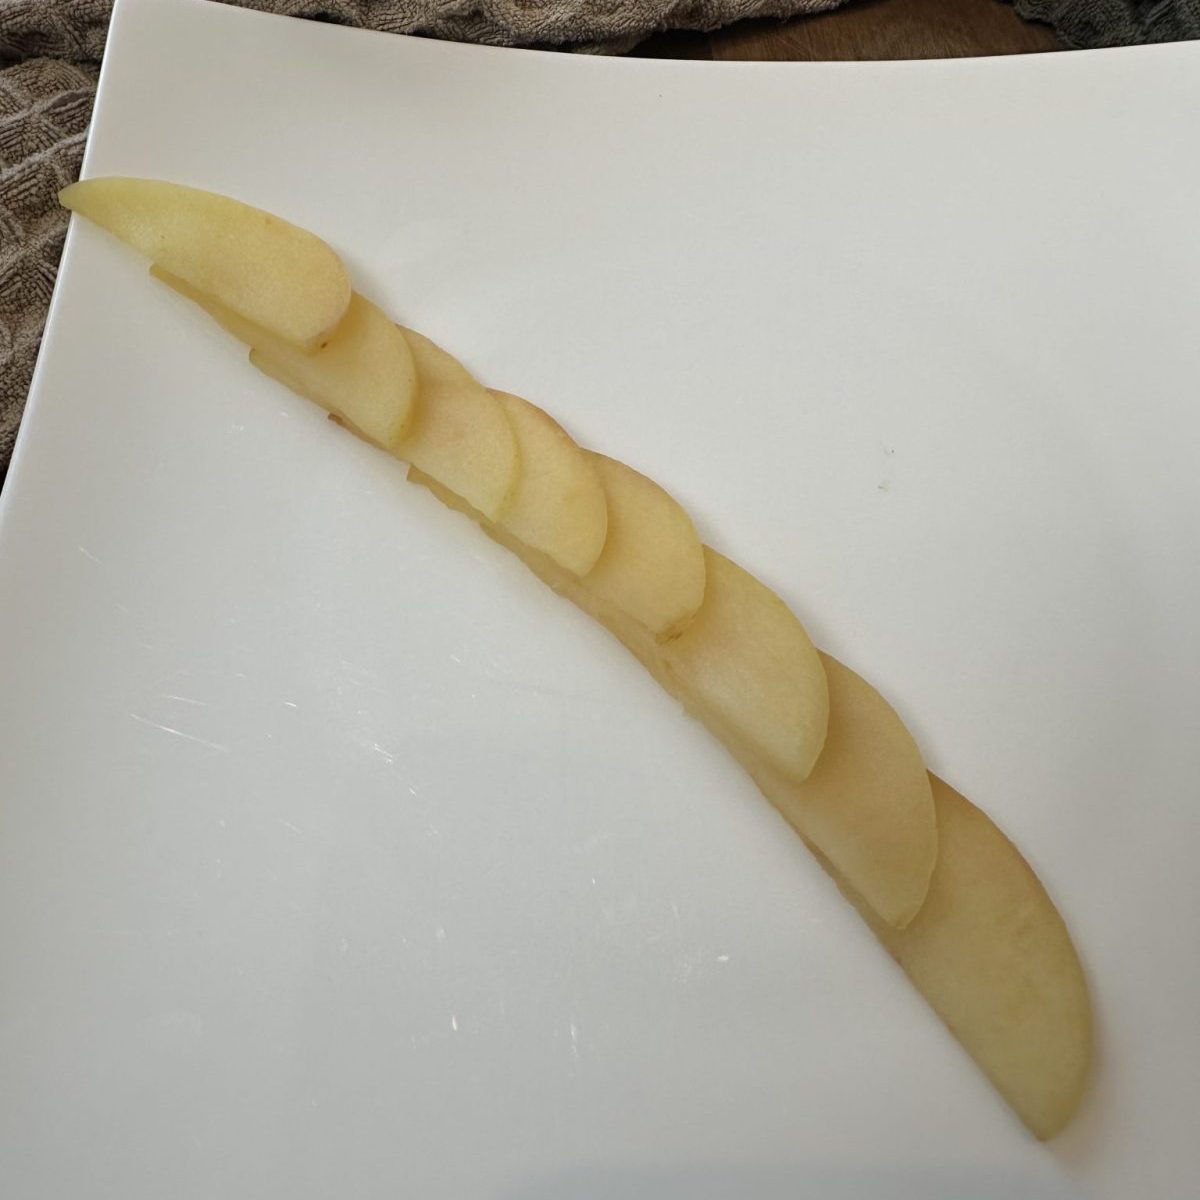
|
Step 2 Starting from the right end, roll the slices tightly together to form a rose. | 
|
Step 3 Place the rose in the center of the tart, and voilà! | 
|
Step 8: Bake the Tart
Bake the tart at 350°F, still on the lowest rack, for 30 minutes.
Step 9: Add the Apricot Glaze
Now it’s time to use the glaze that was set aside in step 4. Hopefully you didn’t throw it out! Brush the glaze onto the tart’s rosette top. Then pop it back in the oven for an additional 5 minutes until the glaze caramelizes. Alternatively, if your oven has a broiler setting, you can broil the tart for about 1 minute until it caramelizes. Then remove from the oven and let it cool.
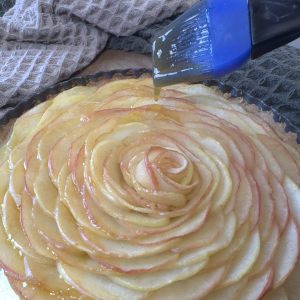
This Michigan Apple Tart makes a wonderful, show-stopping dessert for Thanksgiving or Christmas.

Recipe adapted by Deanna Scheid, RD, from “French Apple Tart” in Cook’s Science: How to Unlock Flavor in 50 of Our Favorite Ingredients (America’s Test Kitchen, 2016).
Find Healthier Alternatives and Holiday Desserts with Michigan Apples
With our healthy holiday tips in mind, there’s always room for a little sweetness at the holiday table. Grab a few varieties, some sweet and some tart, and explore the tastes and textures Michigan Apples bring to baking and cooking.